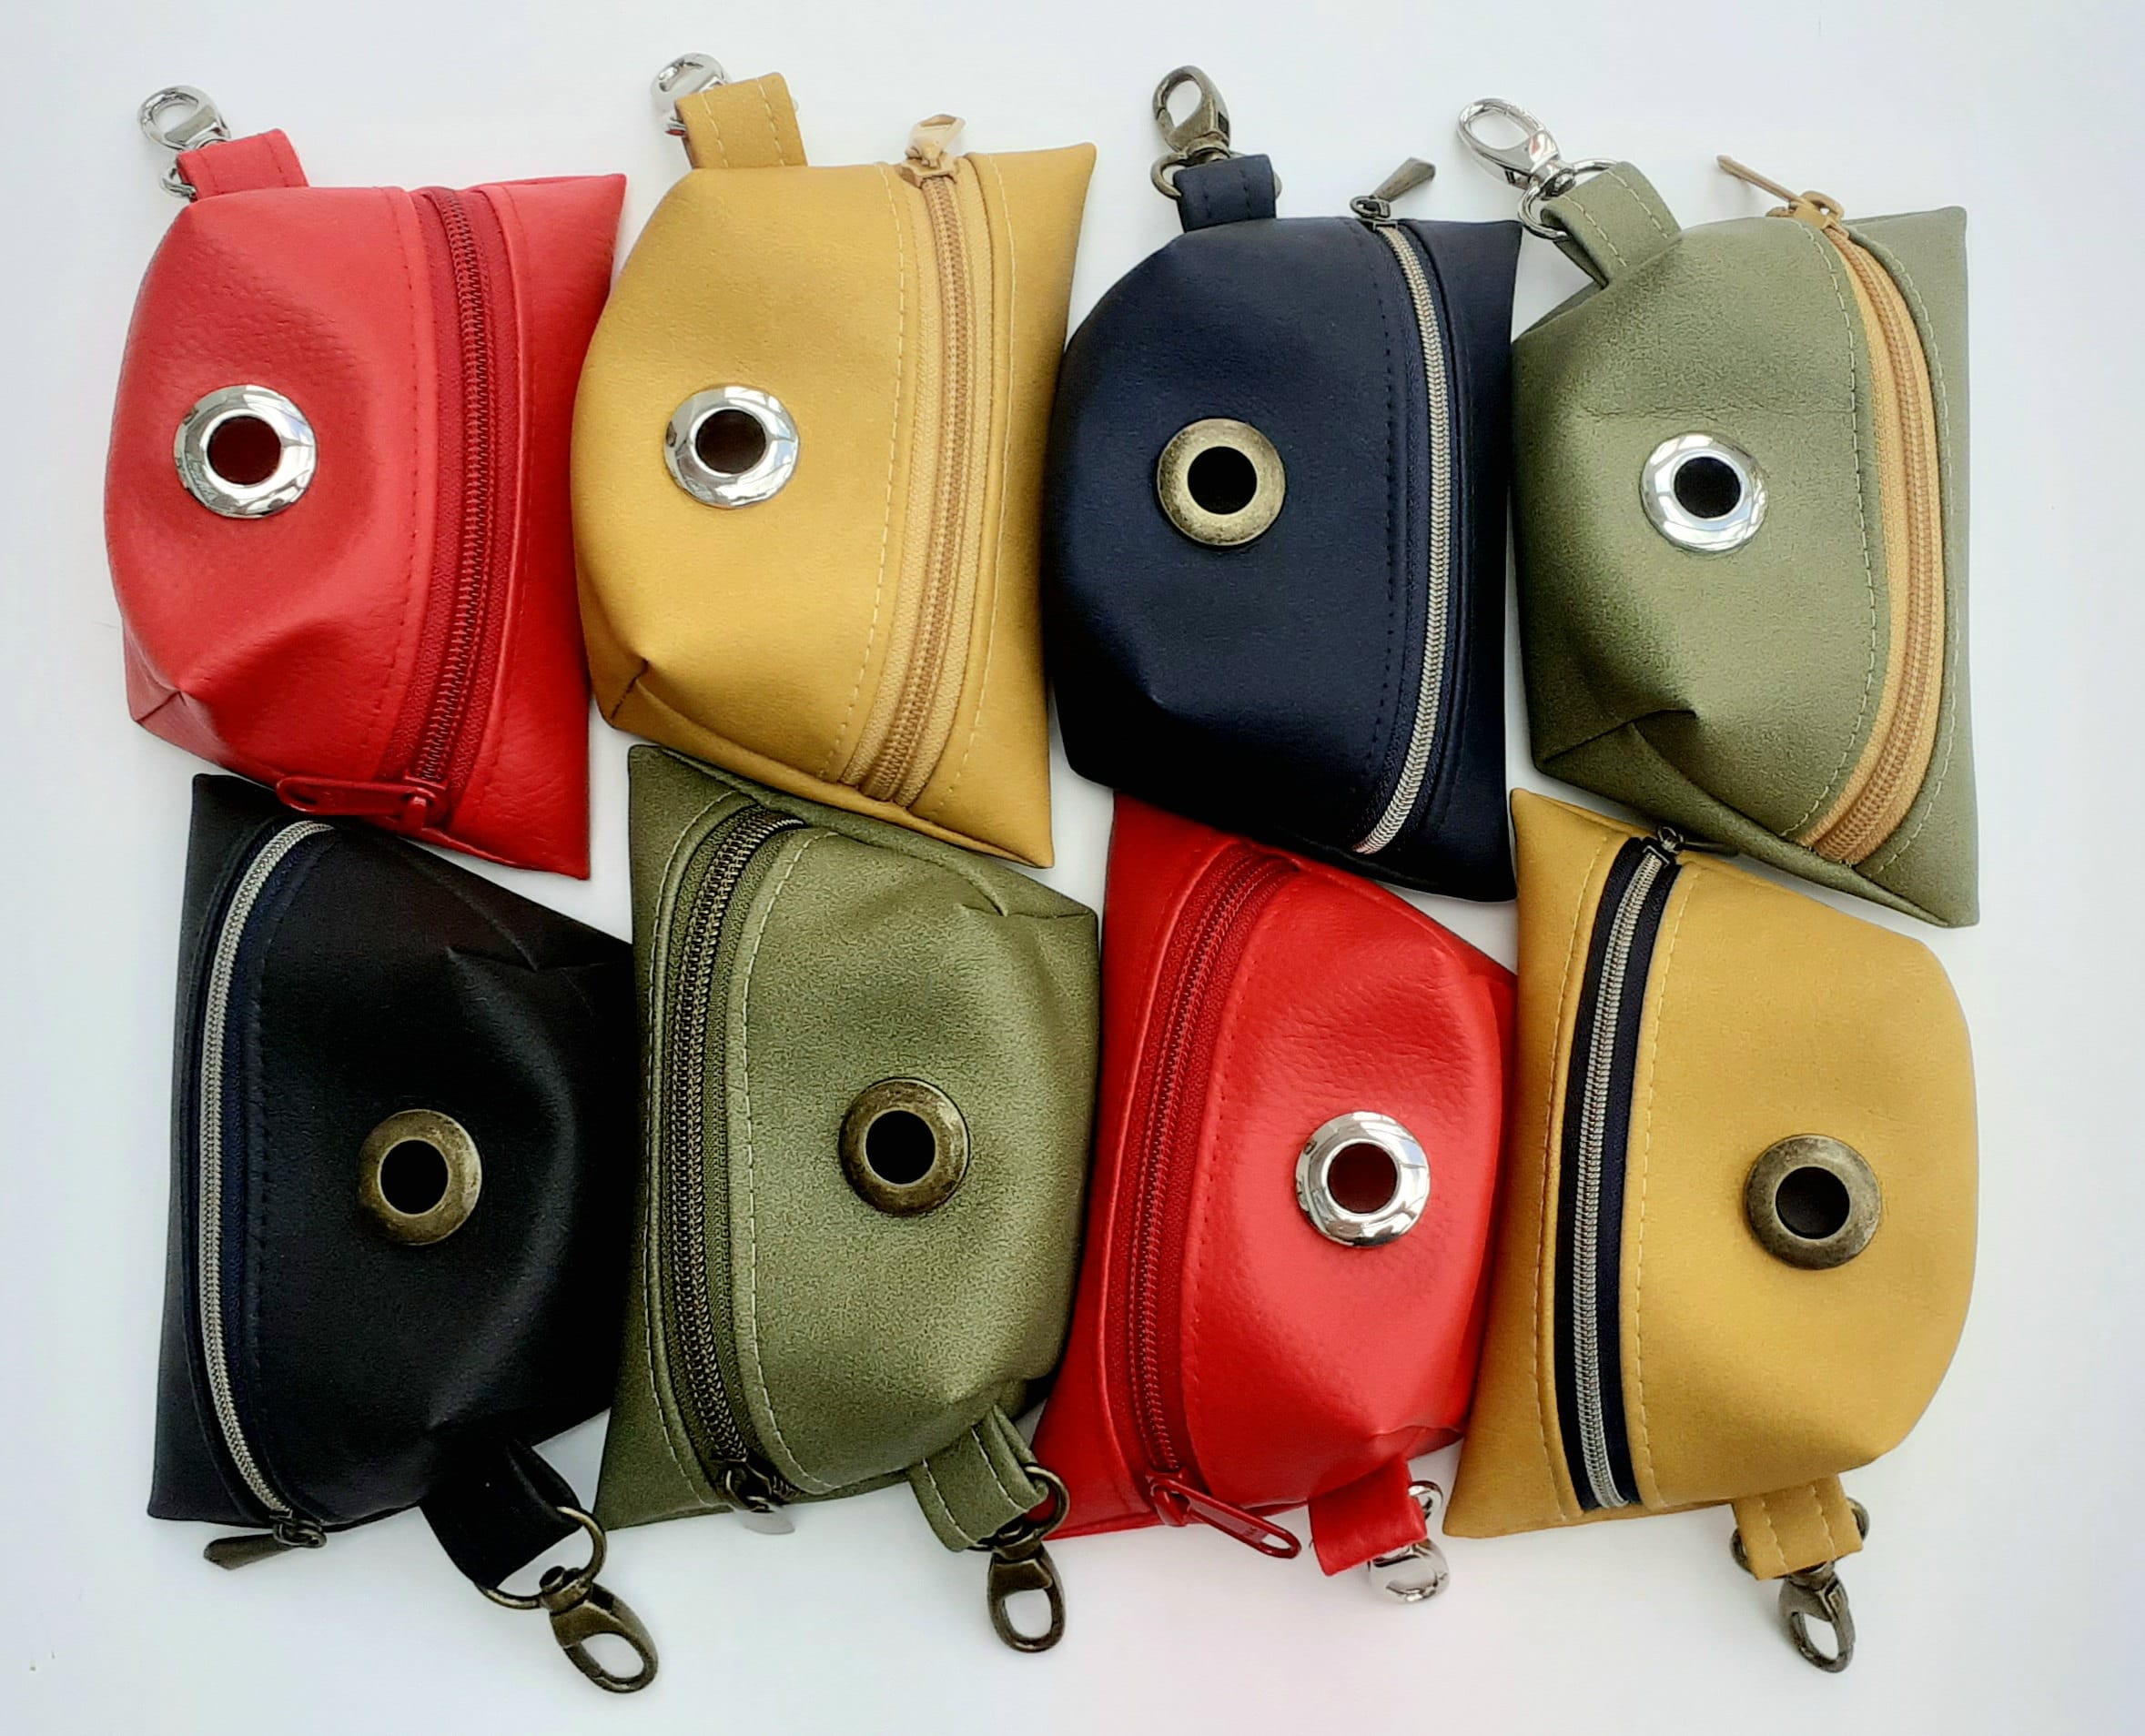
Pattern review: Buddy mini pouch by Sallie Tomato Patterns
Share
[Please note, this blog post includes my affiliate link for Sallie Tomato Patterns, indicated by an asterisk * after the link. I receive a small percentage from the seller if you purchase this sewing pattern using my affiliate link.]
I'm often left with a pile of faux leather scraps from bag making projects. Nothing goes to waste, smaller scraps get turned into zipper pull tabs or bag tassels, but sometimes I'm left with larger scraps that just get stuffed in a drawer until I get round to making something useful. So when I saw the super cute new Buddy pouch pattern* from Sallie Tomato*, I had to give it a try!
With a zip opening to store treats, a grommet to dispense poop bags and a swivel snap hook to clip onto your dog's collar or lead, or to your belt loop, bag or keys, the pouch would make a neat and useful gift for dog owners everywhere! You can also leave off the grommet and use the pouch for yourself to carry small items like tissues, hand sanitizer and lip balm etc.
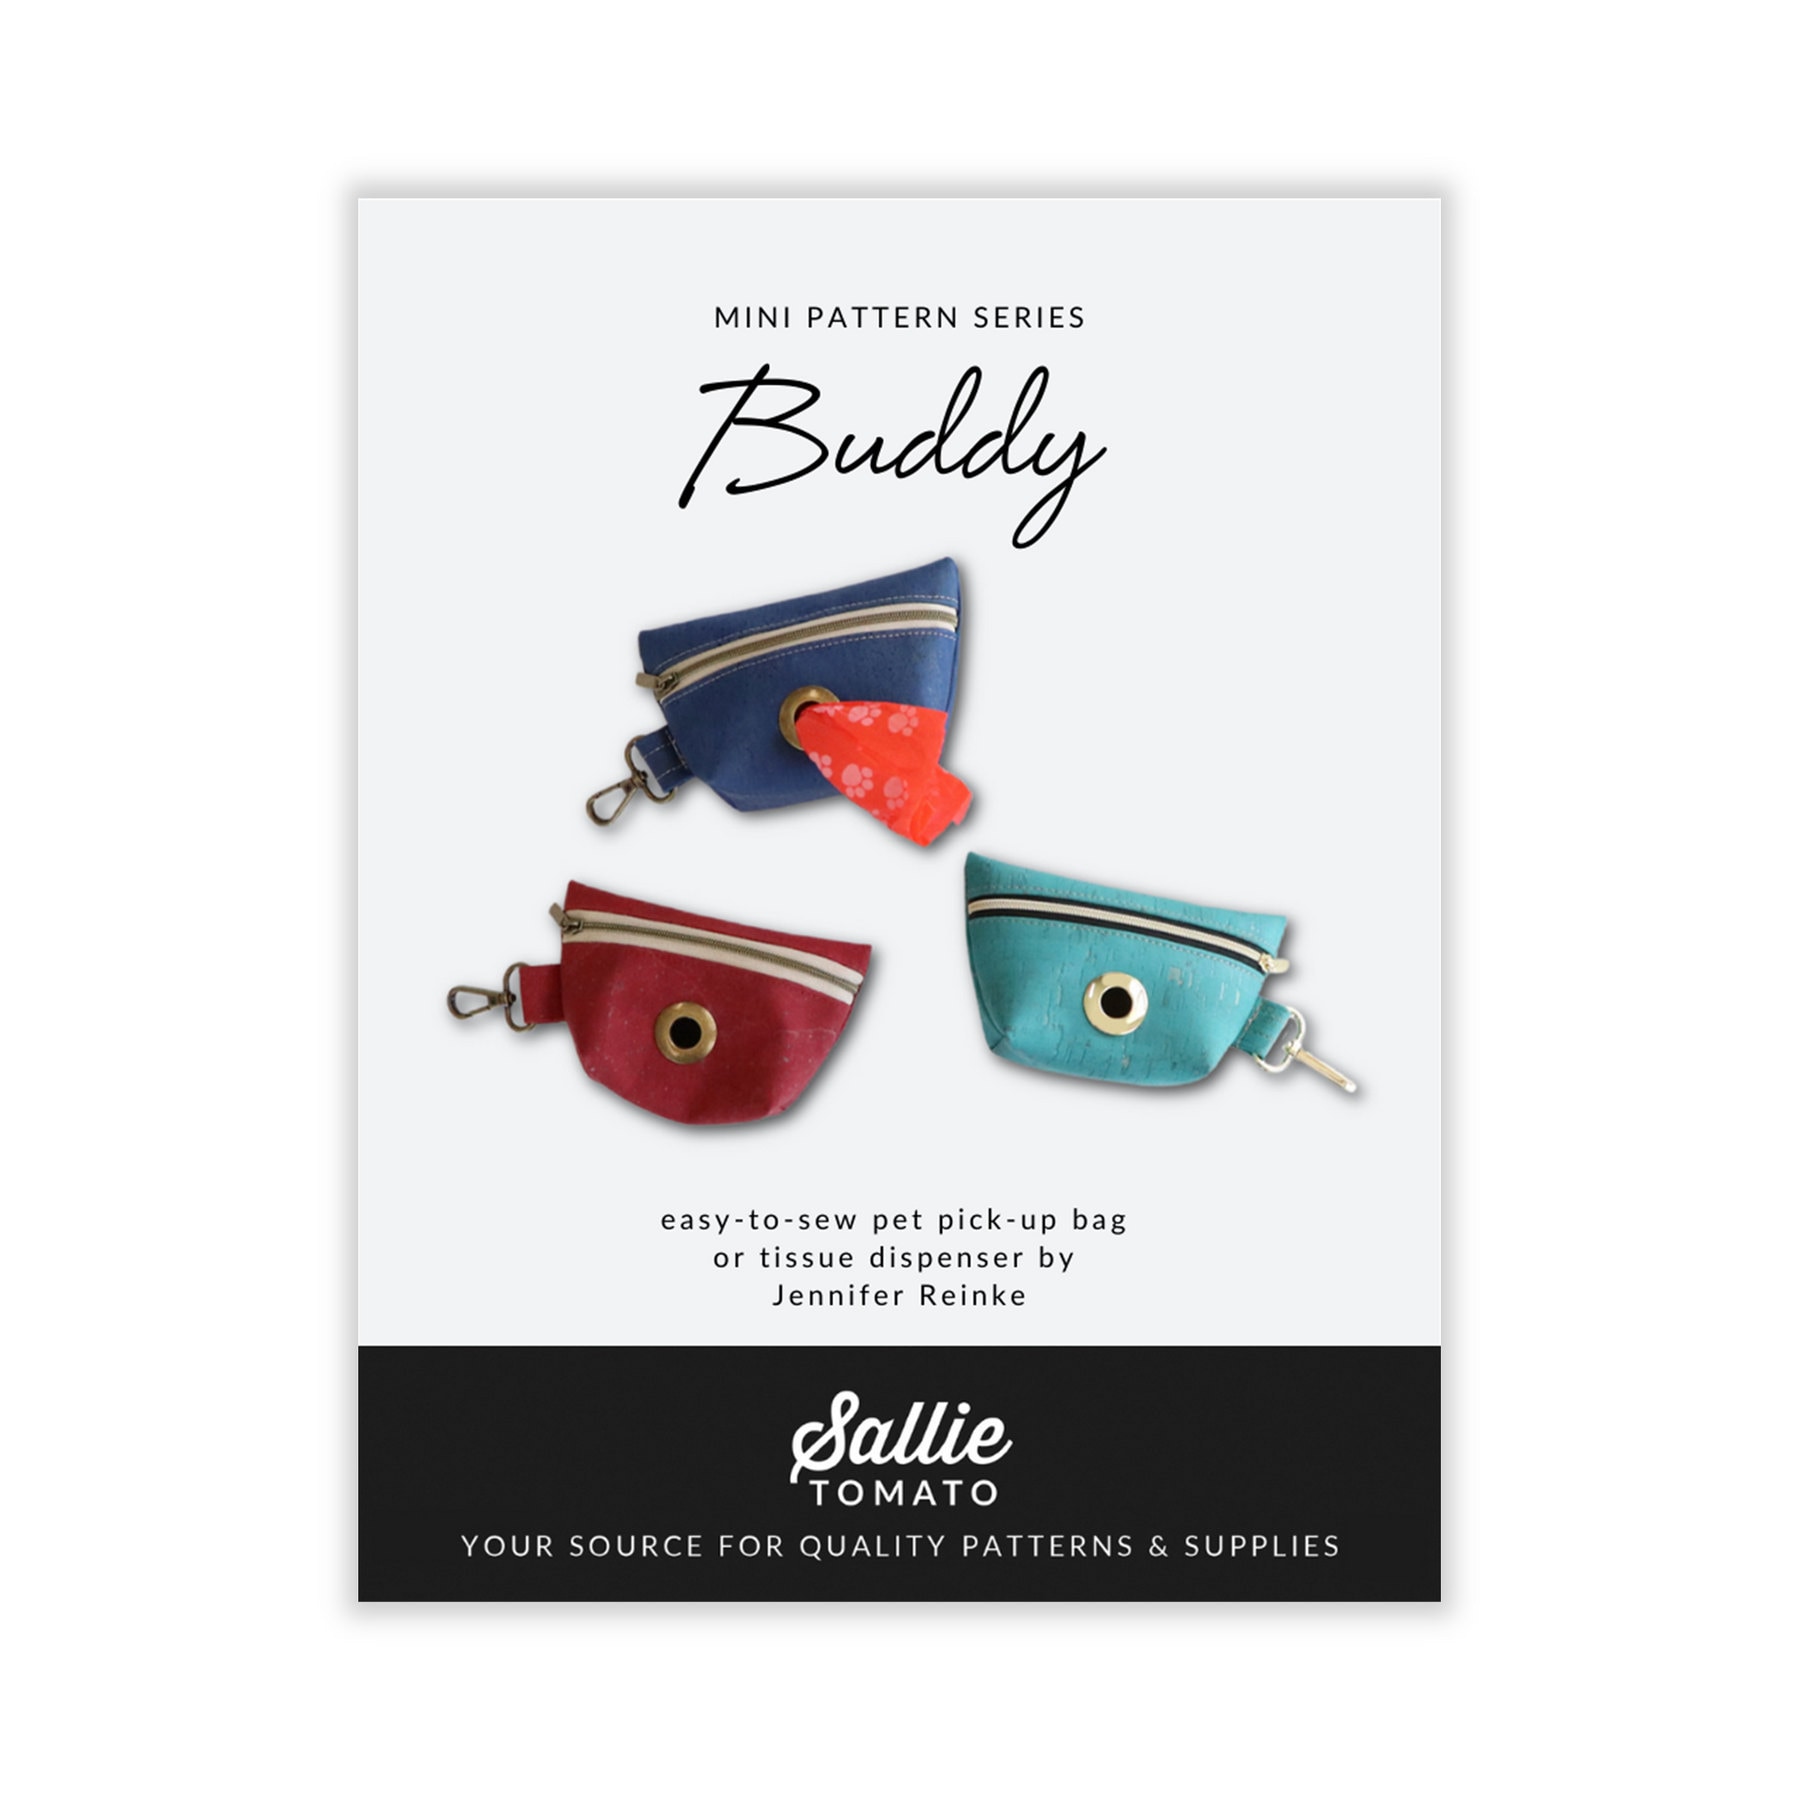
This unlined zip pouch can be sewn with any fabrics with non fraying raw edges like cork, vinyl or faux leather. It is also super quick to sew batch-style for craft fairs or in my case, for my little shelf at Gingerbugs & Co, Ingleton, North Yorkshire where there are bound to be loads of dog walking customers!
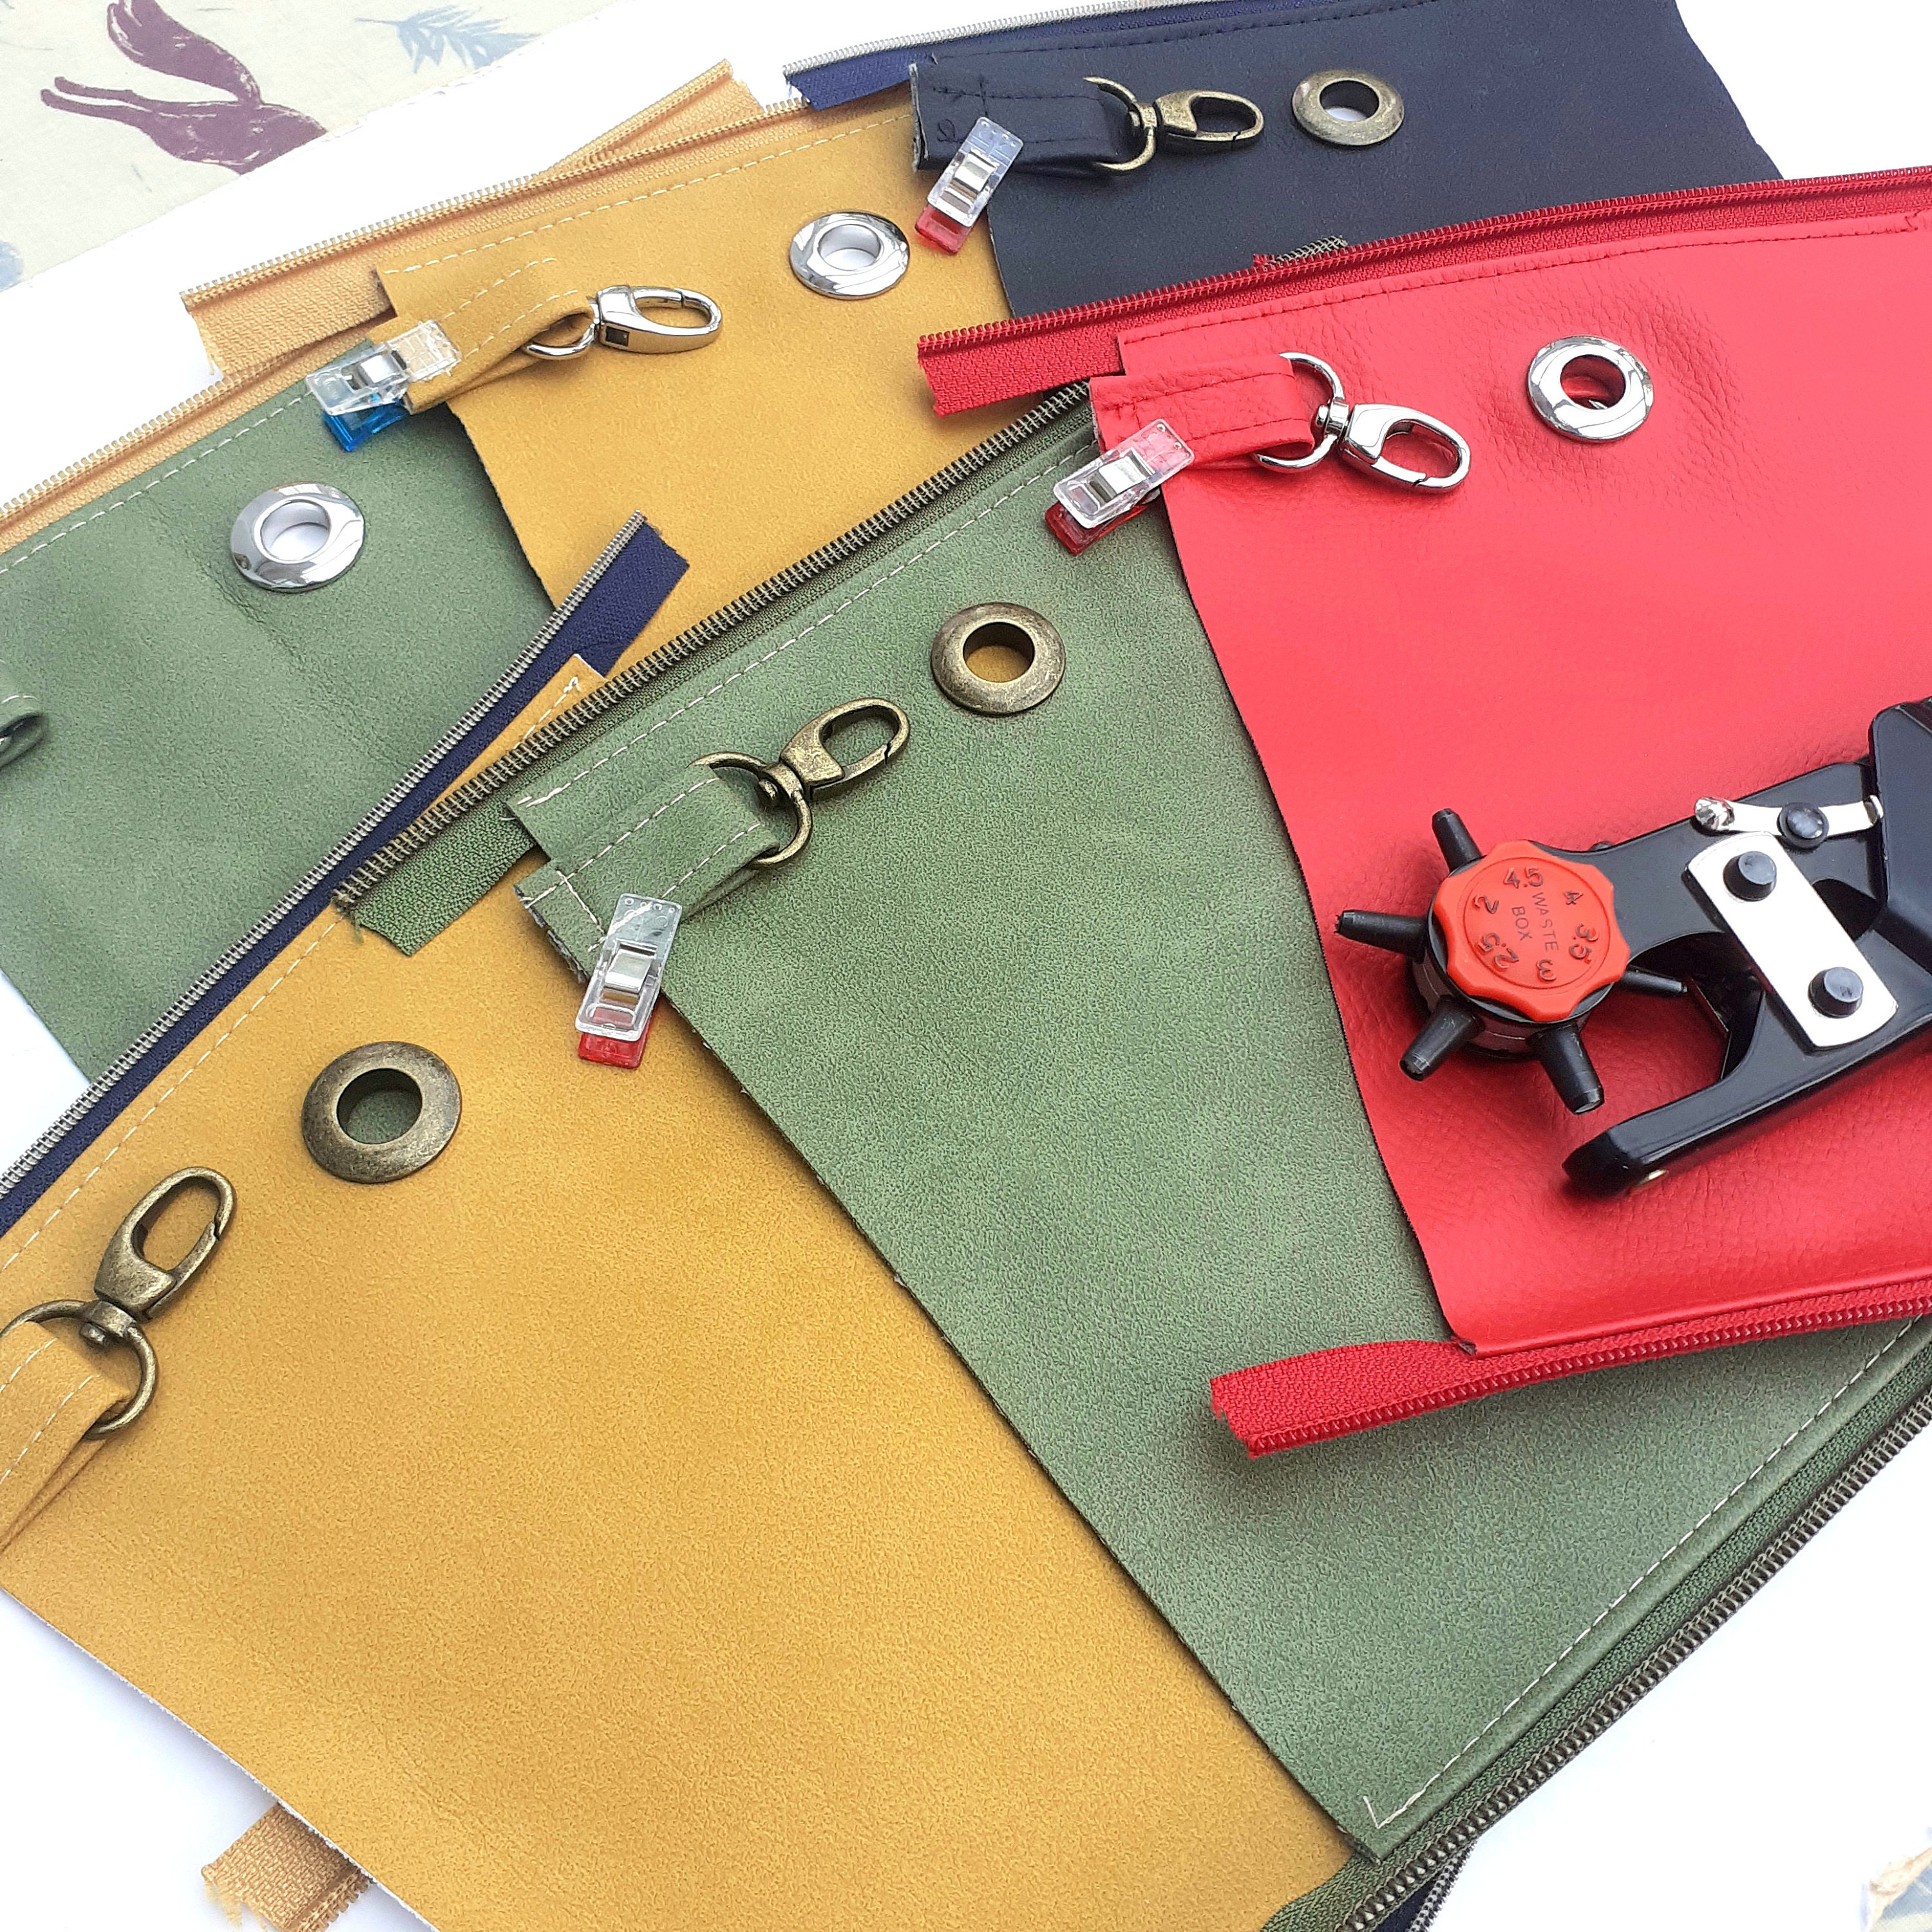
I used a mix of colourful faux leathers from Sew Hot. They also stock the right sized snap grommets, zippers by the yard and swivel snap hooks as well as the paper version of the Buddy pouch pattern*.
The pouch is unlined and although #3 zipper tape is recommended, I used a #5 zipper without a problem. The pattern suggests fusing a scrap of interfacing before installing the grommet and using a scrap of foam, but I found a scrap of the faux leather worked just as well and blended in better on the inside of the pouch.
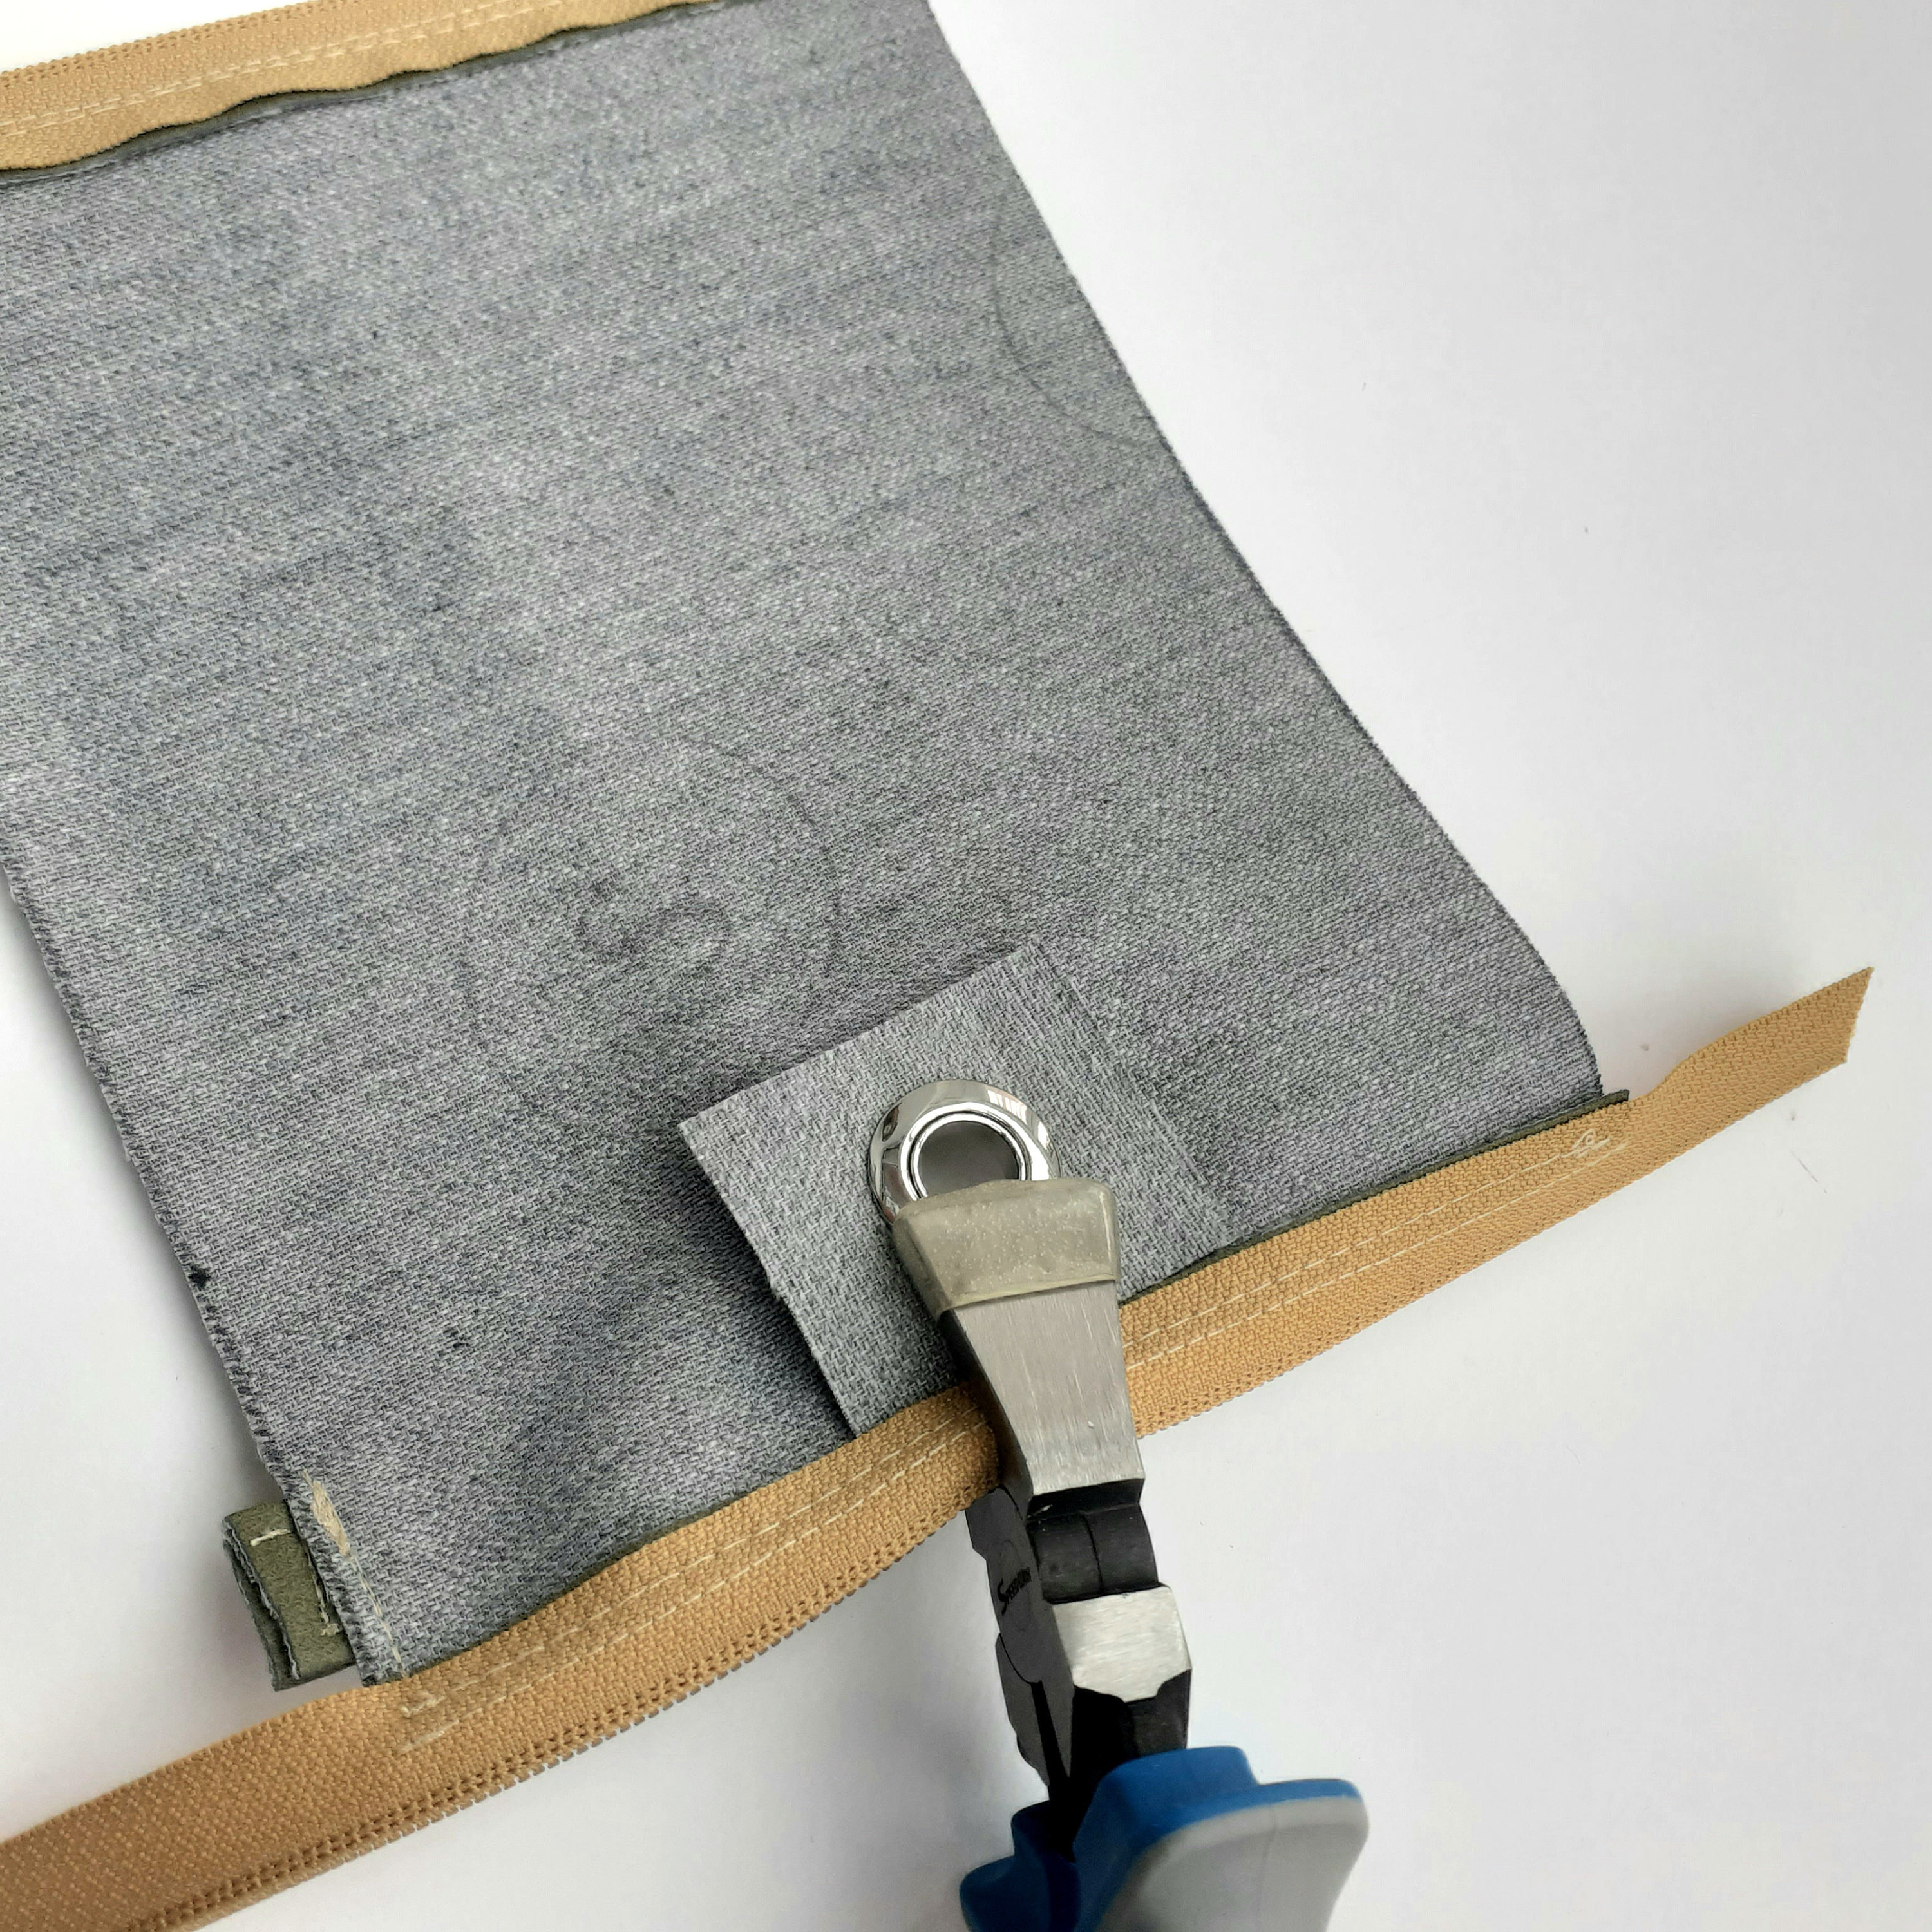
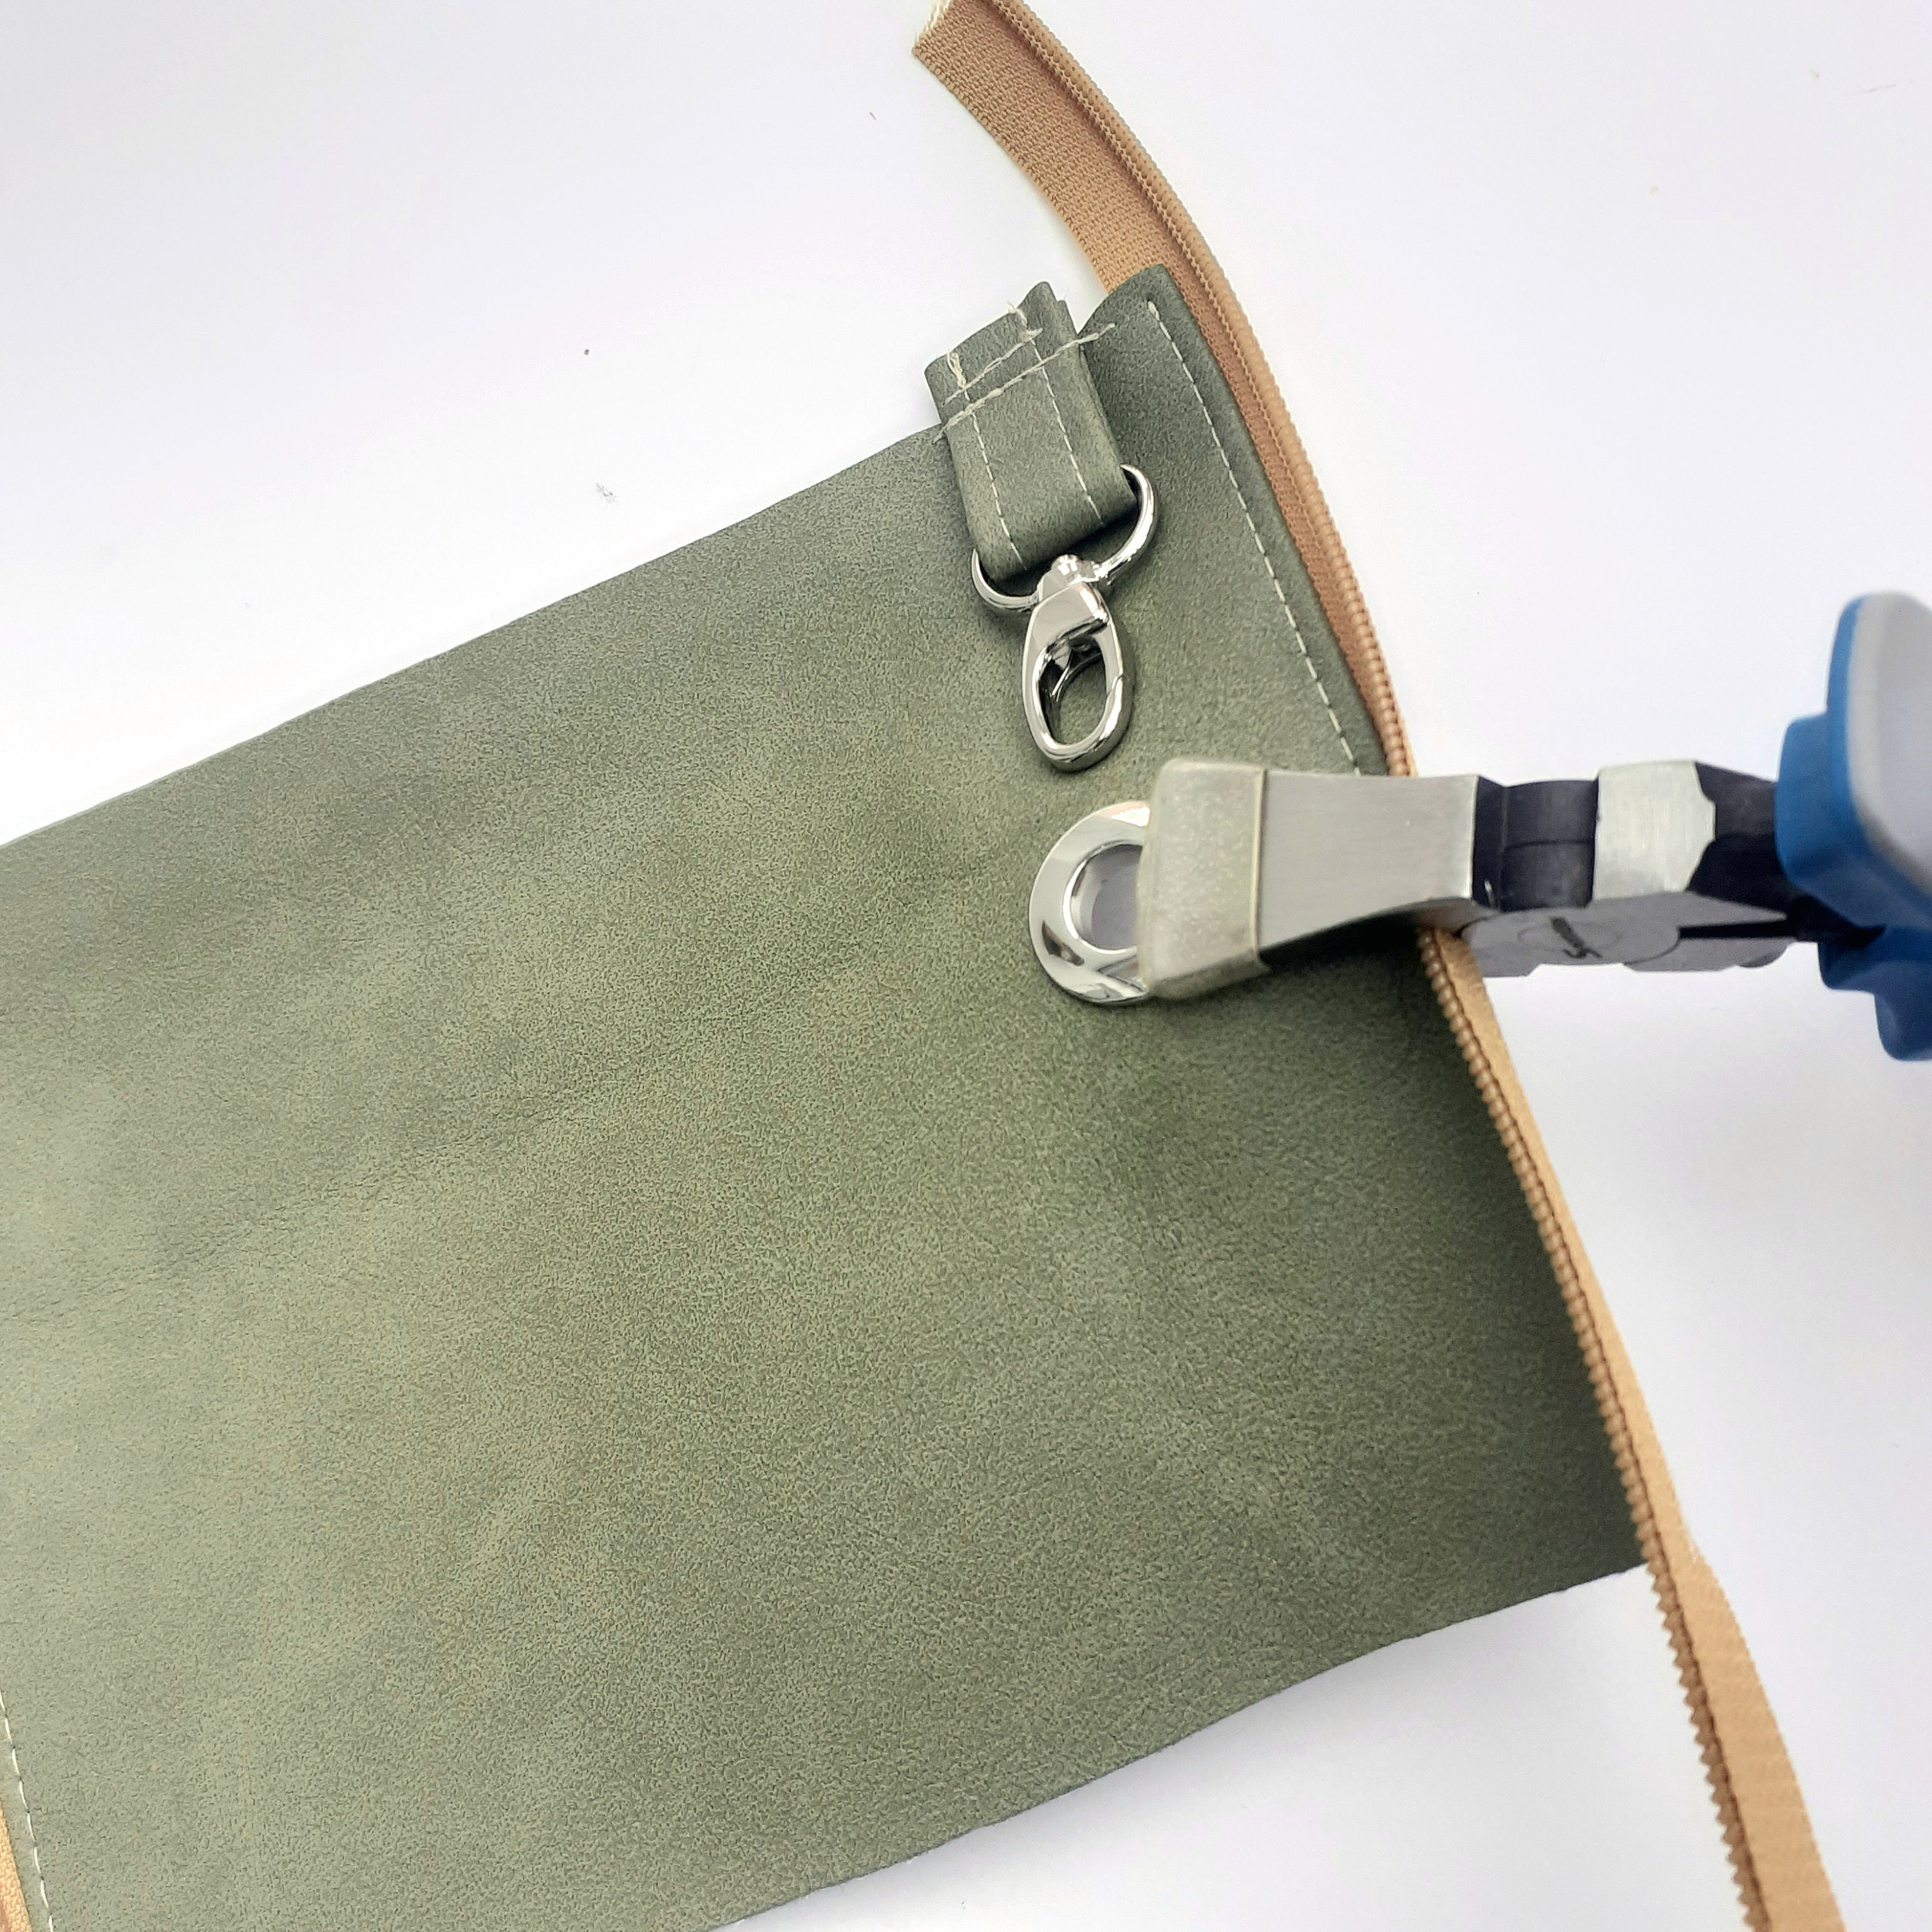
In the tutorial video, they use a hammer to bash the grommet sides together, but my trusty key fob pliers with rubber tips were perfect for this job without running the risk of scratching the metal.
The most fiddly part of the pattern which can take a bit of practise is having to thread the zipper pull onto the zipper sides before the final assembly. While there is a gadget called a Zipper Jig that can help with this step, it doesn't work with all zippers and I don't have one of these but managed fine after a few attempts!
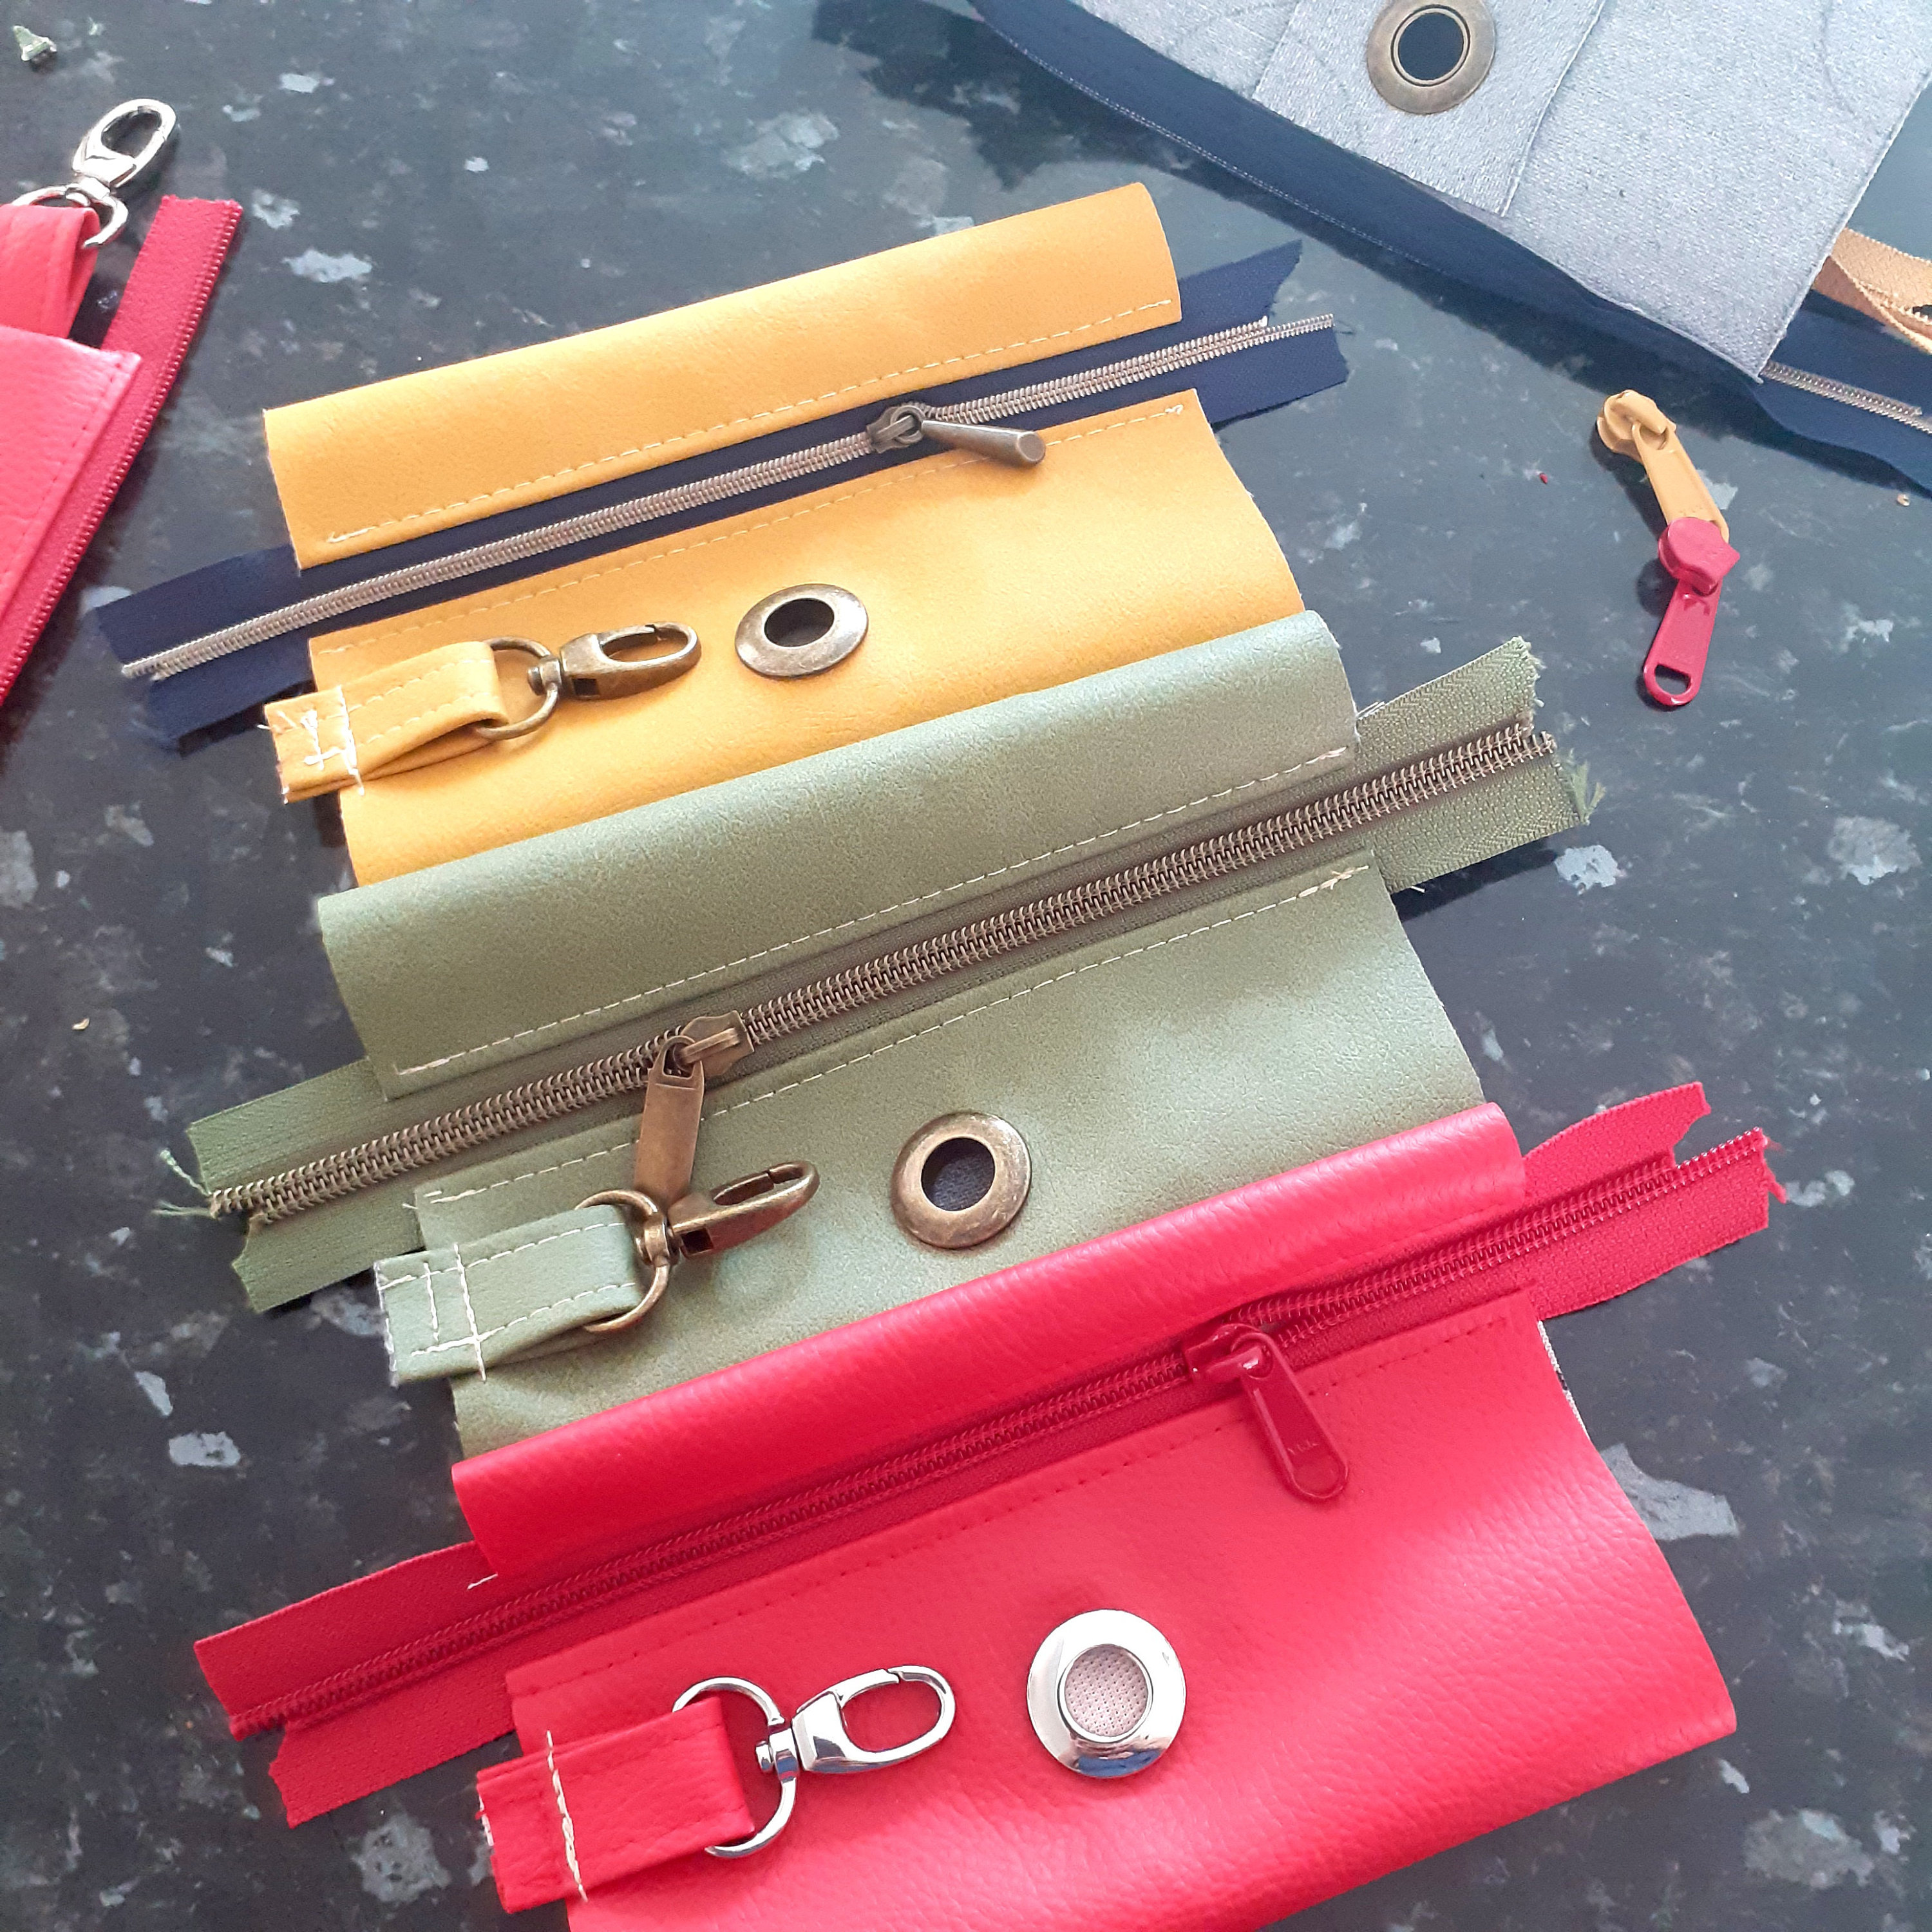
I just love the plump angled shape of these pouches and the sweet result! It's also nice and lightweight to clip onto your dog's collar or leash without them even noticing.
